Apple Developer Account: Purpose
All apps in the iTunes Store are submitted through Apple Developer accounts. In order to publish your app for iOS devices, you will need to sign up for an Apple Developer account. Apple requires each business to have their own account. Enrollment is $99, and renews annually. You will need to give AZ Mobile APPS the login and password so that we can submit your APP on your behalf. In order to do so, you must turn OFF Two Factor Authentication.Registration
This is a step-by-step guide for enrolling. If you run into any issues, we recommend contacting Apple support directly at 1-800-633-2152.Step1: Create your Apple ID
1. Go to https://developer.apple.com/programs/enroll .2. You will then be asked to enter in or create a new Apple ID.
(We recommend you create a new Apple ID so that you do not mix your personal Apple ID with your business’.)
Step 2: Developer Agreement
1. On the next screen, you will be prompted to read and verify that you have read Apple’s Developer Agreement.2. Once you have done so, continue to the next screen.
Step 3: Choosing an Entity Type
Choosing your entity type based on which business category you fall into: Individual: If your business is a DBA or a sole Proprietorship/single person business, you will have to select “Individual”. Your Developer Name will be your full name. Organization: If your business is any other business type, you can select “Organization”. You can upgrade from an Individual account to an Organization account but this could lead to Apple rejecting your application. Your Developer Name will be your Business’ Name.Step 3: If Enrolling as an Organization
If you’re enrolling your organization, you’ll need an Apple ID as well as the following to get started:1. Obtain a D-U-N-S® Number
a. Register Here
b. Learn More Here
c. FAQ’s Here
Step 4: Contact Information
1. After you select your entity type, Apple will want you to enter in and confirm your contact information.2. Once done, please proceed to the next step.
Step 5: Payment & Confirmation
1. After entering in your payment information, Apple will ask you to complete and confirm your purchase.Step 6: Email Confirmation
1. You should receive an email confirmation of your order with a link to verify your email address. Follow the instructions to confirm your account.2. Now you are an Apple Developer!
Things to Note
1. Your account renews Yearly and is required to make sure your application runs properly2. Log into itunesconnect.apple.com and developer.apple.com using the same login info
3. Confirmation of your account can take up to 48 hours by Apple
Disabling Two-Factor Authentication
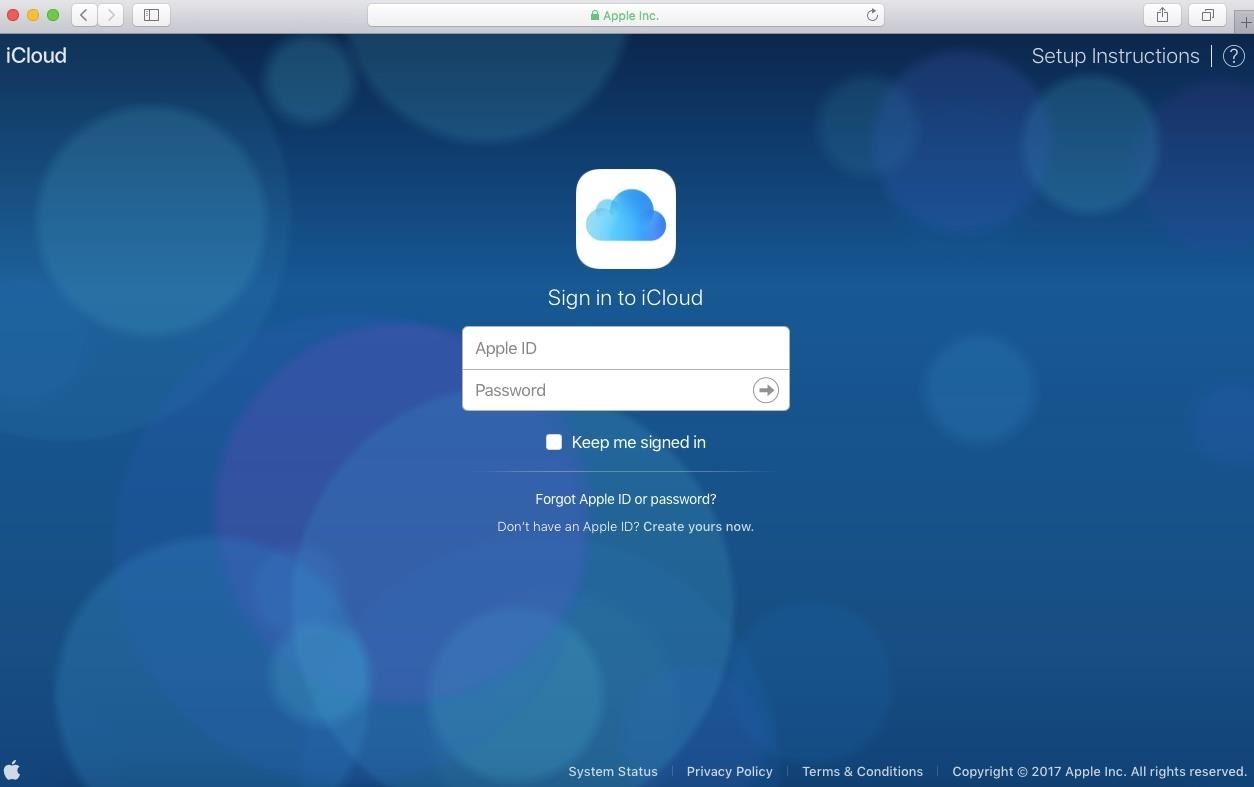
For security reasons, the process of disabling two-factor authentication on your iPhone and Apple Developer Account is a little bit more involved. To get started, open up the browser on your computer, then head over to iCloud.com and sign in with your Apple ID and password.
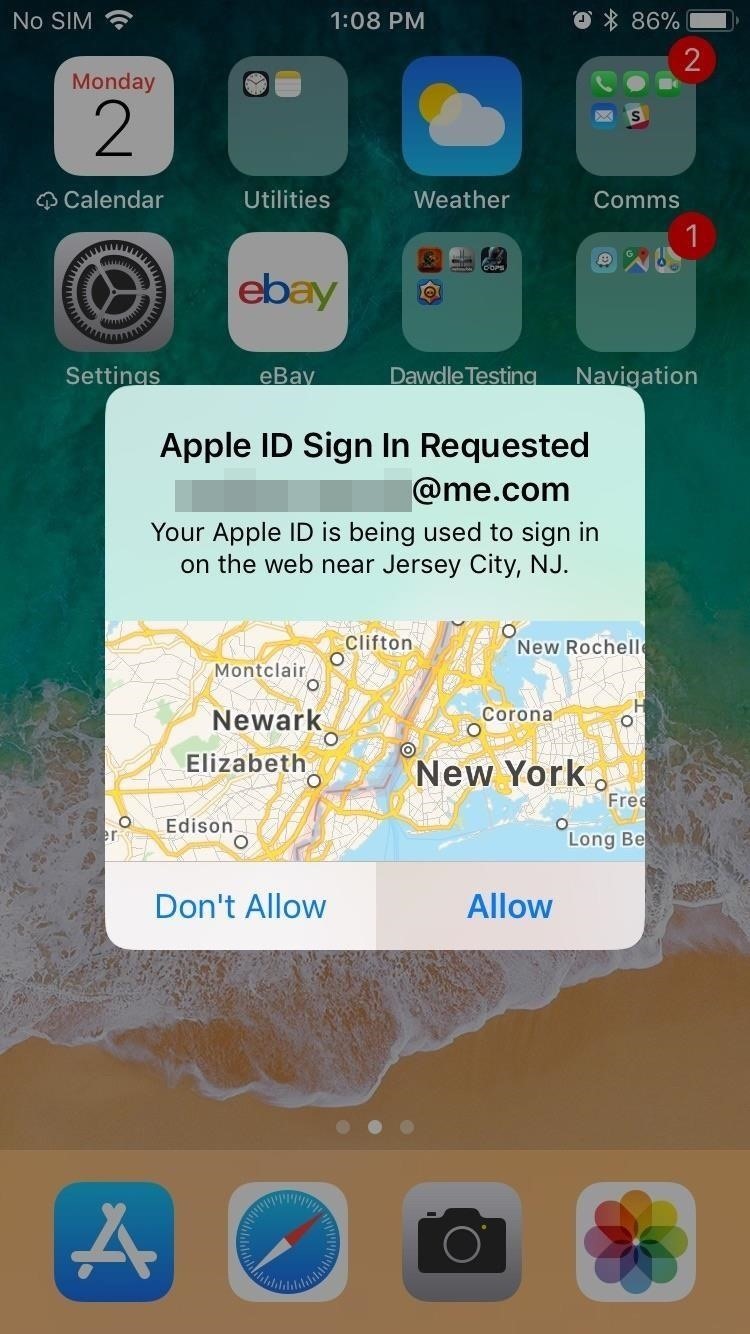
Since two-factor authentication is enabled, iCloud will naturally ask for a six-digit verification code before it allows you to sign in. So go back to your iPhone and approve of your login by tapping on "Allow" on the request prompt to get the code.
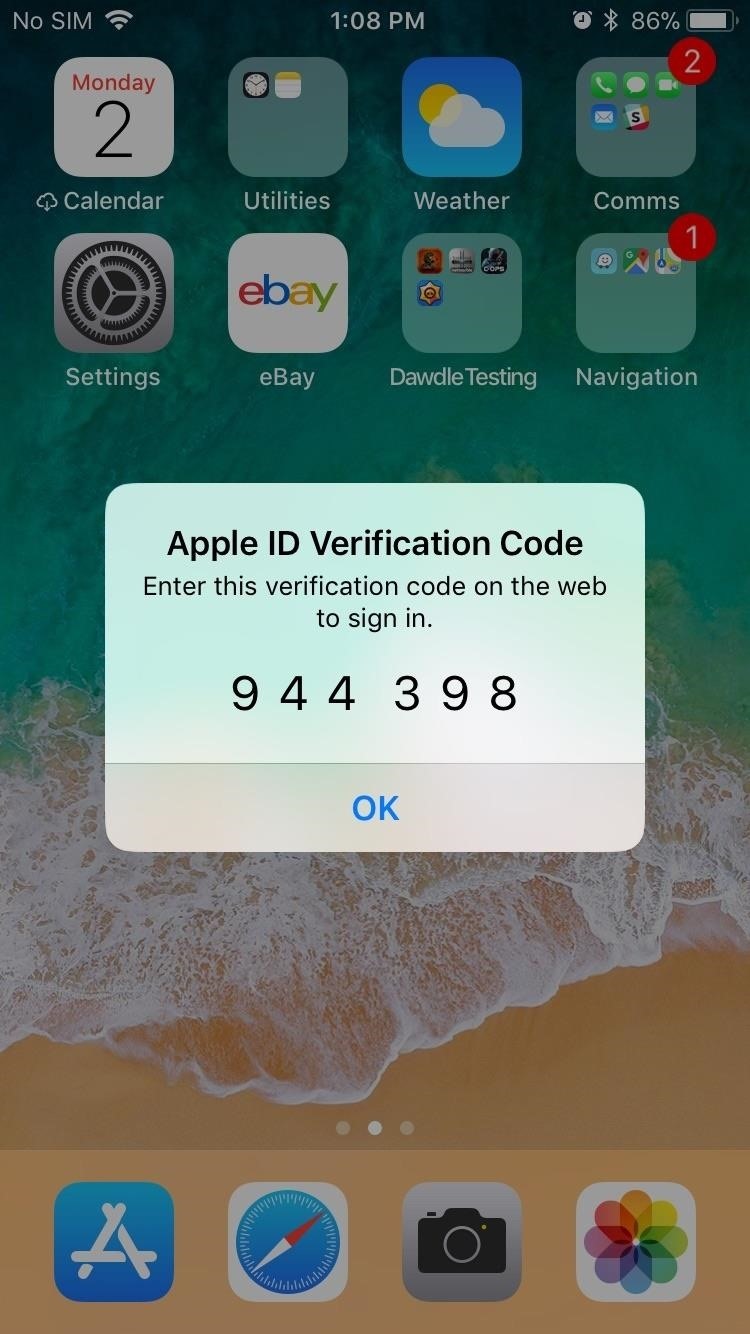
With the six-digit verification code on hand, type it into the iCloud page in your computer's browser. Then click on "Trust" on the following prompts to complete your login and finally bring you to your iCloud account's main page.

Inside your iCloud account's home page, click on "Settings."

Now, select "Manage" (located right under "Apple ID") near the top of the settings page next to your name. You might be taken to another login page to proceed, so re-enter your Apple ID credentials followed by another six-digit authentication code that you can get off your iPhone as mentioned previously. Either way, you'll be taken to your account's information page.

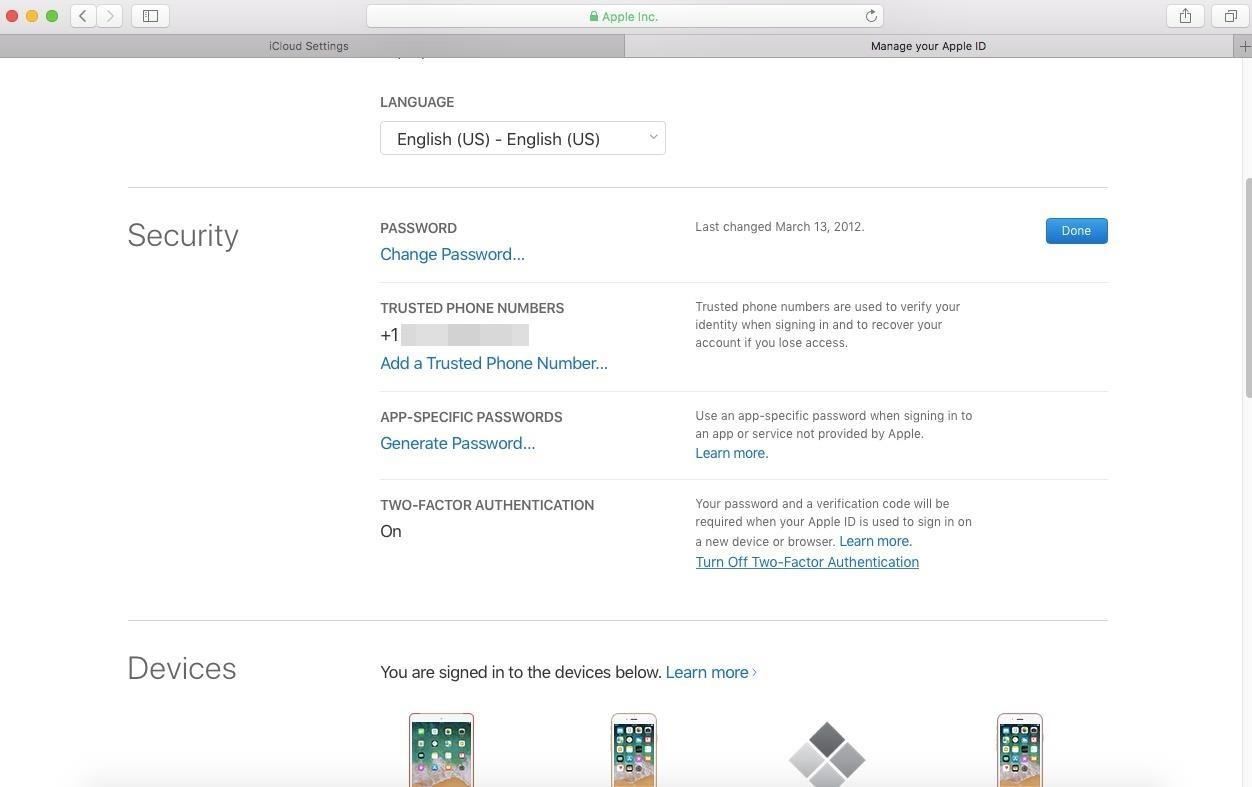
Inside the "Manage your Apple ID" page, click on the "Edit" button on the right side located in the "Security" tab containing password, two-factor authentication, and trusted phone numbers.
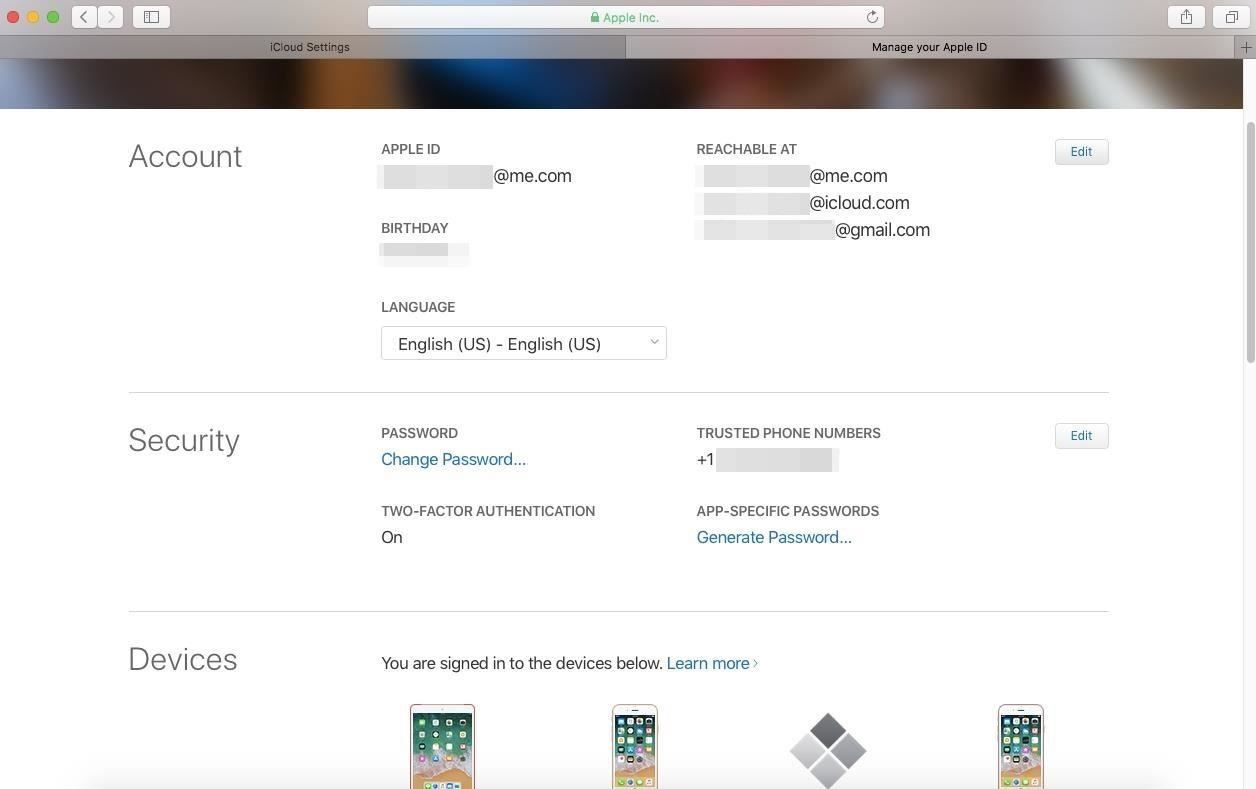
Once in the security page, head over to the two-factor authentication tab and click "Turn Off Two-Factor Authentication" to turn the feature off for good.
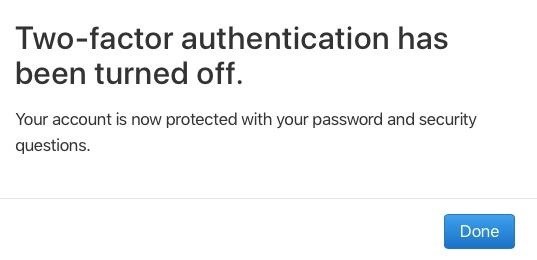
Finalize your selection by clicking on the confirmation prompts to turn the feature off. You might be asked to create three new security questions before it turns off, so go ahead and create them if you haven't already done so. After confirming, you'll receive a final prompt notifying you that the feature has been disabled, so hit "Done" and exit out of iCloud on your computer.

Once this is turned off, let us at AZ Mobile Apps know. Make sure we have your Apple Id and password, and we will be able to submit your app on your behalf